Fitting Blinds
Ready to fit your blinds? We are here to help.
Let's Install. You will need:
- Pencil
- Metal measuring tape
- Drill
- Screwdriver
- Screws
- Rawlplugs
- Ladder
- A friendly extra pair of hands.
Before you start.
Make sure you have the correct screws and rawlplugs for your type of wall. Our blinds will weigh between 3kg and 10kg, so robust fixings are essential.
To help avoid plasterwork cracks, don’t fit a screw less than 5cm above the window lintel.
Making sure you pick the right screws and rawlplugs for your wall type is very important. We have found these screw sizes work well, but make sure you double check the best solution for your home:
- Timber walls: 4cm / 1.5 inch screws.
- Brick walls: 5cm / 2 inch screws.
- Hollow walls: 6cm / 2.5 inch to 10cm / 4 inch screws.
- Modern plasterboard wall: 10cm / 4 inch screws (to reach the block behind)
- Red rawlplugs work in most cases.
- Hollow walls need specialist rawlplugs that brace against the wall.
Contents
-
1. Blind Installation
-
2. Bay Window Blind Installation
1. Blind Installation
Bracket Fitting:
Start by marking on the wall or ceiling where your brackets need to be installed.
If ceiling fixed:
- Start with the blind in a raised position. Pull back the velcro-ed fabric panel to reveal the headrail.
- Release the brackets by opening the lever arms (use a flathead screwdriver if needed)
- In line with the centre of your window, measure forwards by 4cm from where the wall meets the ceiling. This is where the bracket front sits.
- Hold up your bracket so the front sits in line and mark with a pencil through the hole for where the screws will go.
- Repeat this process, ensuring there is a bracket placed 10cm in from each end and that the remainder are evenly spaced.
- Drill holes at the marked points and insert rawlplugs if needed.
- Screw brackets into place using two screws per bracket.
- Line up the swing arms so they are pointing into the room.
If wall fixed:
- Start with the blind in a raised position. Pull back the velcro-ed fabric panel to reveal the headrail.
- Release the brackets by opening the lever arms (use a flathead screwdriver if needed)
- Find where the tops of your brackets will sit. This is the ‘fitting height’ from your order i.e. the distance from the floor to the top of your blind.
- In line with the centre of your window, hold the bracket so the top is aligned with your fitting height, and mark with a pencil through the hole for where the screws will go.
- Repeat this process, ensuring there is a bracket placed 10cm in from each end and that the remainder are evenly spaced.
- Drill holes at the marked points and insert rawlplugs if needed.
- Screw brackets into place using two screws per bracket.
- Line up the swing arms so they are pointing into the room.
Attaching the Blind:
- Angle the blind by tipping the headrail up towards you slightly, and slot onto the brackets so the front teeth engage.
- Check that the blind is centered, and push the swing arms towards the blind so they sit flush, which will secure it in place.
- Reattach the top panel of fabric by lining it up at one side and smoothly pressing the velcro back together from left to right.
- If you reattach so the top of the fabric is a tiny bit higher up than the headrail then your brackets will be better hidden.
- If it doesn’t look quite right don’t worry, you can pull the velcro off and adjust/reattach as needed.
⚠ Safety Notice ⚠
The metal chain has a quick-release safety cog in the headrail.
DO NOT attach or anchor it to the wall or window frame.
Testing the Blind
- Wind it up and down to check it moves smoothly and stays level.
- If anything isn’t right, just get in touch.
2. Bay Window Blind Installation
Follow the guidance above for foolproof blind installation.
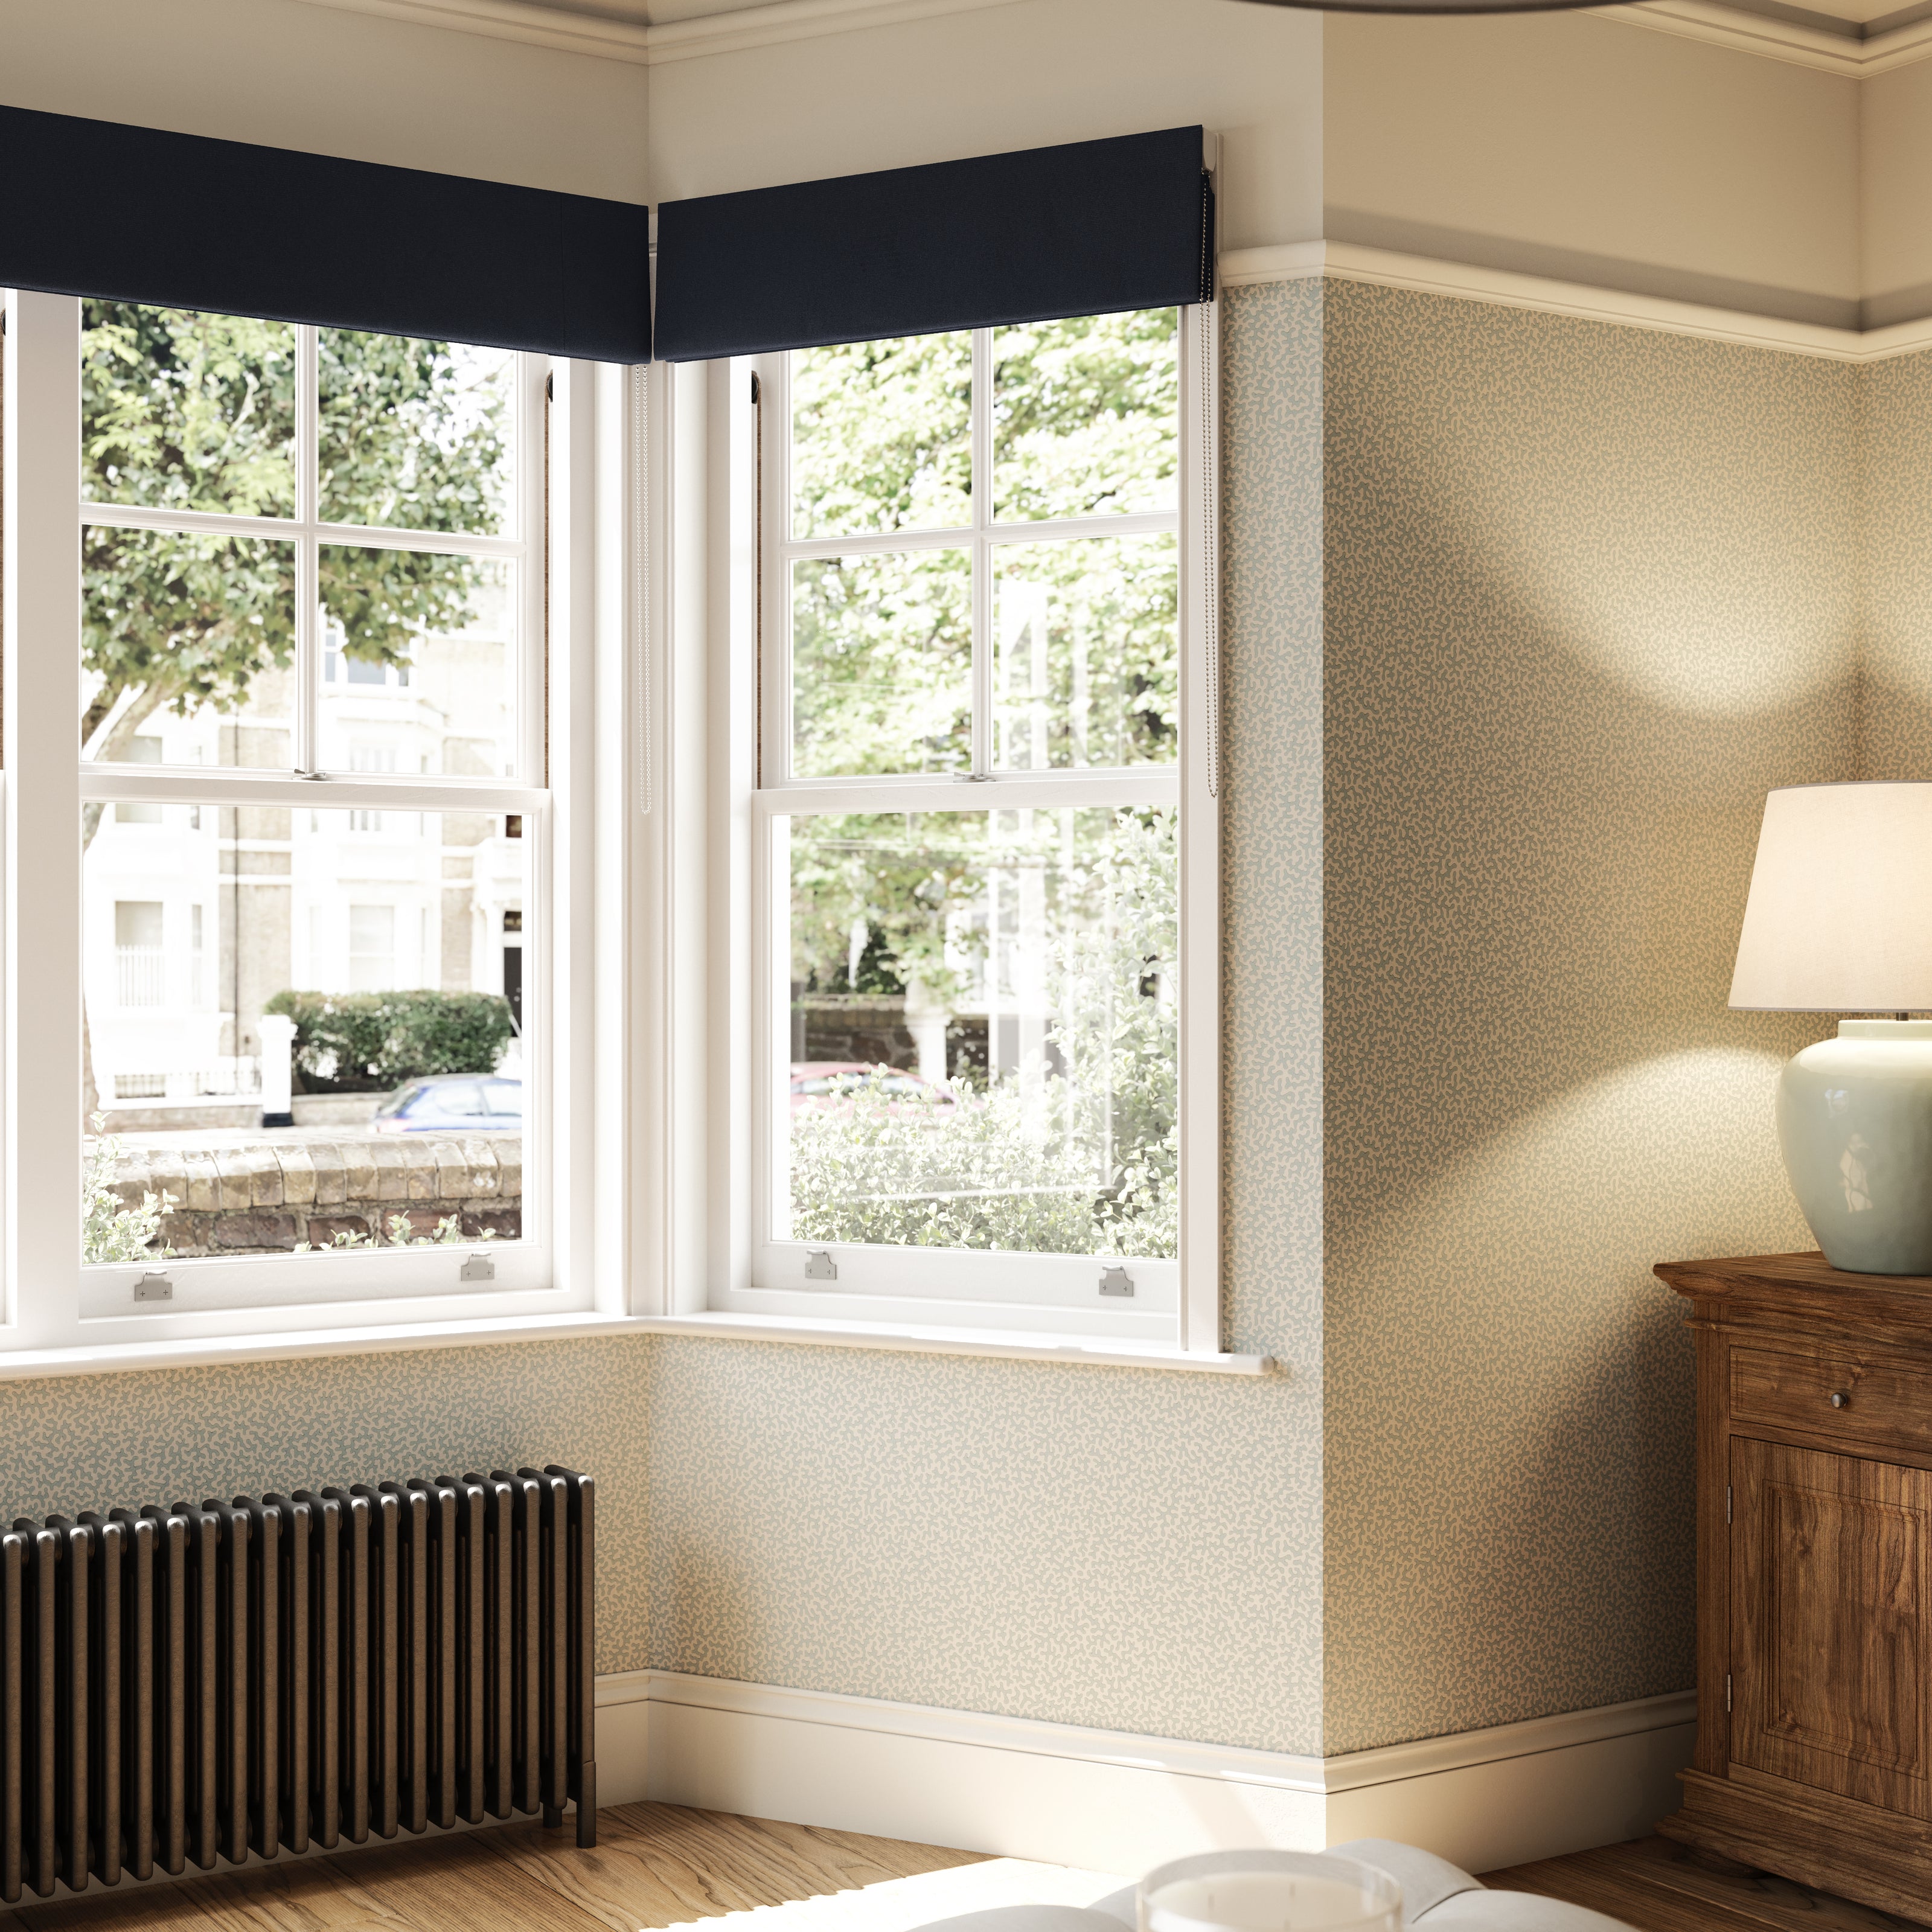
Start with fitting the blind which will sit at the front of the bay (the one you look straight at when standing face on to the bay window)
Now take your first side blind, and before you start installation, hold it in position next to your installed front blind, and consider where to position it to ensure it doesn’t touch or rub against the front blind. Install and repeat with the second side blind.
Check that all three blinds can open and close smoothly. If you need to adjust the position of the side blinds just open the bracket levers and slide the headrail to the desired position.
If anything doesn’t look right then just get in touch!
Other Measuring & Fitting Guides
-
Fitting Curtains
Guide Here -
Measuring Curtains
Guide Here -
Measuring Curtains - Bay Windows
Guide Here -
Measuring Blinds
Guide Here -
Measuring Blinds - Bay Windows
Guide Here