Fitting Curtains
Ready to fit your curtains? We are here to help.
Let's Install. You will need:
- Pencil
- Metal measuring tape
- Drill
- Screwdriver
- Screws
- Rawlplugs
- Ladder
- A friendly extra pair of hands.
Before you start.
Make sure you have the correct screws and rawlplugs for your type of wall. Our curtains will weigh between 10kg and 30kg, so robust fixings are essential.
To help avoid plasterwork cracks, don’t fit a screw less than 5cm above the window lintel.
Making sure you pick the right screws and rawlplugs for your wall type is very important. We have found these screw sizes work well, but make sure you double check the best solution for your home:
- Timber walls: 4cm / 1.5 inch screws.
- Brick walls: 5cm / 2 inch screws.
- Hollow walls: 6cm / 2.5 inch to 10cm / 4 inch screws.
- Modern plasterboard wall: 10cm / 4 inch screws (to reach the block behind)
- Red rawlplugs work in most cases.
- Hollow walls need specialist rawlplugs that brace against the wall.
Contents
-
1. Ceiling Fixed Track Installation
-
2. Wall Fixed Track Installation
-
3. Wall Fixed Wooden Pole Installation
-
4. Wall Fixed Metal Pole Installation (including double pole)
-
5. Bay Window Installation
1. Ceiling Fixed Track Installation
Bracket fitting:
Start by marking on the ceiling where your brackets need to be installed.
- In line with the centre of your window, measure forwards by 8cm from where the wall meets the ceiling. Mark with an ‘x’ in pencil.
- Repeat this process, ensuring there is a bracket placed 10cm in from each end, and that the remainder are evenly spaced no further than 50cm apart.
- Drill holes at the marked spots and fit rawlplugs if needed.
- Position brackets so the round washer is closest to the ceiling.
- Screw brackets into place, leaving enough space for the lever arm to move.
- Point all lever arms toward the window.
Attaching the track:
- The front of the track has a deeper lip, which should face into the room.
- Hold the track up to the brackets, aligning it with the centre of your window.
- Engage the track onto the brackets by swinging the bracket arms into place. This will grip and lock the track in position.
Hanging the curtains:
- Take your curtain and untie the top section so that you have access to the hooks.
- Place the curtain over your shoulder to take the weight.
- Hook the metal curtain hooks into the runners. Be careful, as the metal hooks can be sharp!
- Gently remove the curtain weight from your shoulder and let the curtains fall into place. Remove the remaining ties and arrange the curtains to your taste.
2. Wall Fixed Track Installation
Bracket Fitting
Start by marking on the wall where your brackets need to be installed.
- In line with the left and right sides of your window, locate the pencil marks for where the top of your curtains will go, or create the mark by measuring from where your curtains will finish (e.g. the floor) up to the drop size you bought.
- Measure 3.0cm above this mark. Now, if you’re having floorlength curtains, you can make an adjustment if you want your curtains to fit differently:
- For floor-length curtains that sit just above the floor, go 1cm higher.
- For curtains that touch or ‘puddle’ on the floor, go 2cm lower..
- Mark the resulting position - this is where the tops of your brackets will sit.
- Hold up your bracket so the top sits in line with your mark, and mark with pencil through the holes for where the screws will go.
- Repeat this process, ensuring there is a bracket placed 10cm in from each end, and that the remainder are evenly spaced no further than 50cm apart.
- Drill holes at the marked spots and fit rawlplugs if needed.
- Screw brackets into place using two screws per bracket.
- Attach the silver washer bracket to the arm from beneath by using the small screw included, so the fixing is snug but able to move. Point the silver lever towards the window.
- Click the magnetic bracket covers into place to cover the screws.
Attaching the Track
- The front of the track has a deeper lip, which should face into the room.
- Hold the track up to the brackets, aligning it with the centre of your window.
- Engage the track onto the brackets by swinging the bracket arms into place. This will grip and lock the track in position.
Hanging the Curtains
- Take your curtain and untie the top section so that you have access to the hooks.
- Place the curtain over your shoulder to take the weight.
- Hook the metal curtain hooks into the runners. Be careful, as the metal hooks can be sharp!
- Gently remove the curtain weight from your shoulder and let the curtains fall into place. Remove the remaining ties and arrange the curt
3. Wall Fixed Wooden Pole Installation
Bracket Fitting
Start by marking on the wall where your brackets need to be installed.
- Unscrew the metal plates on the back of your wooden cup brackets so you can mark on the wall where these need to be fitted.
- In line with the left and right sides of your window, locate the pencil marks for where the top of your curtains will go, or create the mark by measuring from where your curtains will finish (e.g. the floor) up to the drop size you bought.
- Measure 5.0cm above this mark. Now, if you’re having floorlength curtains, you can make an adjustment if you want your curtains to fit differently:
- For floor-length curtains that sit just above the floor, go 1cm higher.
- For curtains that touch or ‘puddle’ on the floor, go 2cm lower.
- Mark the resulting position - this is where the tops of your metal plates will sit.
- Time for some maths…take your pole width (not including the finials) and subtract the window width, then divide by 2. This tells you how much wider the pole is on each side of the window.
- Position the metal plate so it is 5.0cm closer to the window than that measurement, and make sure the top is in the correct position. Mark with pencil through the holes for where the screws will go.
- Repeat this process at the other end. If you have a pair of curtains and your pole is 200cm or longer then you will also have a bracket for the centre of the pole which should be aligned with the centre of your window.
- Drill holes at the marked spots and fit rawlplugs if needed.
- Screw in the metal plates using three screws per bracket.
- Reattach the wooden brackets to the metal base, ensuring the cups face up.
Attaching the Pole
- If your pole is 240cm or shorter it will come in one length. Add the required number of rings and place onto the brackets.
- If your pole is 250cm or longer it will come in two pieces. Use the double ended screw to connect the halves (the seam will be hidden by the centre bracket). Add the required number of rings and place onto the brackets.
- If you have an even pair of curtains, move one ring at each end so that it sits beyond the end of the bracket. If you have a single curtain just move the ring at the end you want the curtain to pull back to. This ring acts as an anchor.
- Secure the pole to the brackets using the small screws provided, and screw on the finials.
Hanging the Curtains
- Take your curtain and untie the top section so that you have access to the hooks.
- Place the curtain over your shoulder to take the weight.
- Hook the metal curtain hooks into the rings. Be careful, as the metal hooks can be sharp!
- Gently remove the curtain weight from your shoulder and let the curtains fall into place. Remove the remaining ties and arrange the curtains to your taste.
4. Wall Fixed Metal Pole Installation
(including double pole)
Bracket Fitting
Start by marking on the wall where your brackets need to be installed.
- Unscrew the bracket arms and covers from the back plates with the supplied alan key, so you can mark on the wall where these need to be fitted.
- If you’ve chosen a double pole then there is no bracket cover, so you can proceed with the below.
- In line with the left and right sides of your window, locate the pencil marks for where the top of your curtains will go, or create the mark by measuring from where your curtains will finish (e.g. the floor) up to the drop size you bought.
- Measure 7.0cm above this mark. Now, if you’re having floorlength curtains, you can make an adjustment if you want your curtains to fit differently:
- For floor-length curtains that sit just above the floor, go 1cm higher.
- For curtains that touch or ‘puddle’ on the floor, go 2cm lower.
- Mark the resulting position - this is where the tops of your brackets will sit.
- Time for some maths…take your pole width (not including the finials) and subtract the window width, then divide by 2. This tells you how much wider the pole is on each side of the window.
- Position the back plate so it is 5.0cm closer to the window than that measurement, and make sure the top is in the correct position. Mark with pencil through the holes for where the screws will go.
- Repeat this process at the other end. If you have a pair of curtains and your pole is 200cm or longer then you will also have a bracket for the centre of the pole which should be aligned with the centre of your window. This bracket is a different shape, so you need to take the measurement from the floor to the top of the back plate and subtract 2cm to determine the centre top position.
- Drill holes at the marked spots and fit rawlplugs if needed.
- Screw in the metal plates using two screws per bracket.
- Reattach the cover plate and bracket arm, and tighten in place with the alan key.
Attaching the Pole
- If your pole is 240cm or shorter it will come in one length. Add the required number of rings and place onto the brackets.
- If your pole is 250cm or longer it will come in two pieces. Use the joiner to connect the halves by pushing together (the seam will be hidden by the centre bracket). Add the required number of rings and place onto the brackets.
- If you have an even pair of curtains, move one ring at each end so that it sits beyond the end of the bracket. If you have a single curtain just move the ring at the end you want the curtain to pull back to. This ring acts as an anchor.
- Secure the pole to the brackets using the small grub screws provided, and screw on the finials.
Hanging the Curtains
- Take your curtain and untie the top section so that you have access to the hooks.
- Place the curtain over your shoulder to take the weight.
- Hook the metal curtain hooks into the rings. Be careful, as the metal hooks can be sharp!
- Gently remove the curtain weight from your shoulder and let the curtains fall into place. Remove the remaining ties and arrange the curtains to your taste.
5. Bay Window Installation
Bay Tracks:
Your bay track will have been angled to the unique shape of your bay, and will be supplied in two halves. Start by joining the two halves together with the joining piece.
You can now follow the guidance on the Wall Fixed Track Installation section above.
When you come to attach the track to the brackets, you will need an extra pair of hands to hold up the track as you work your way along and fix in place.
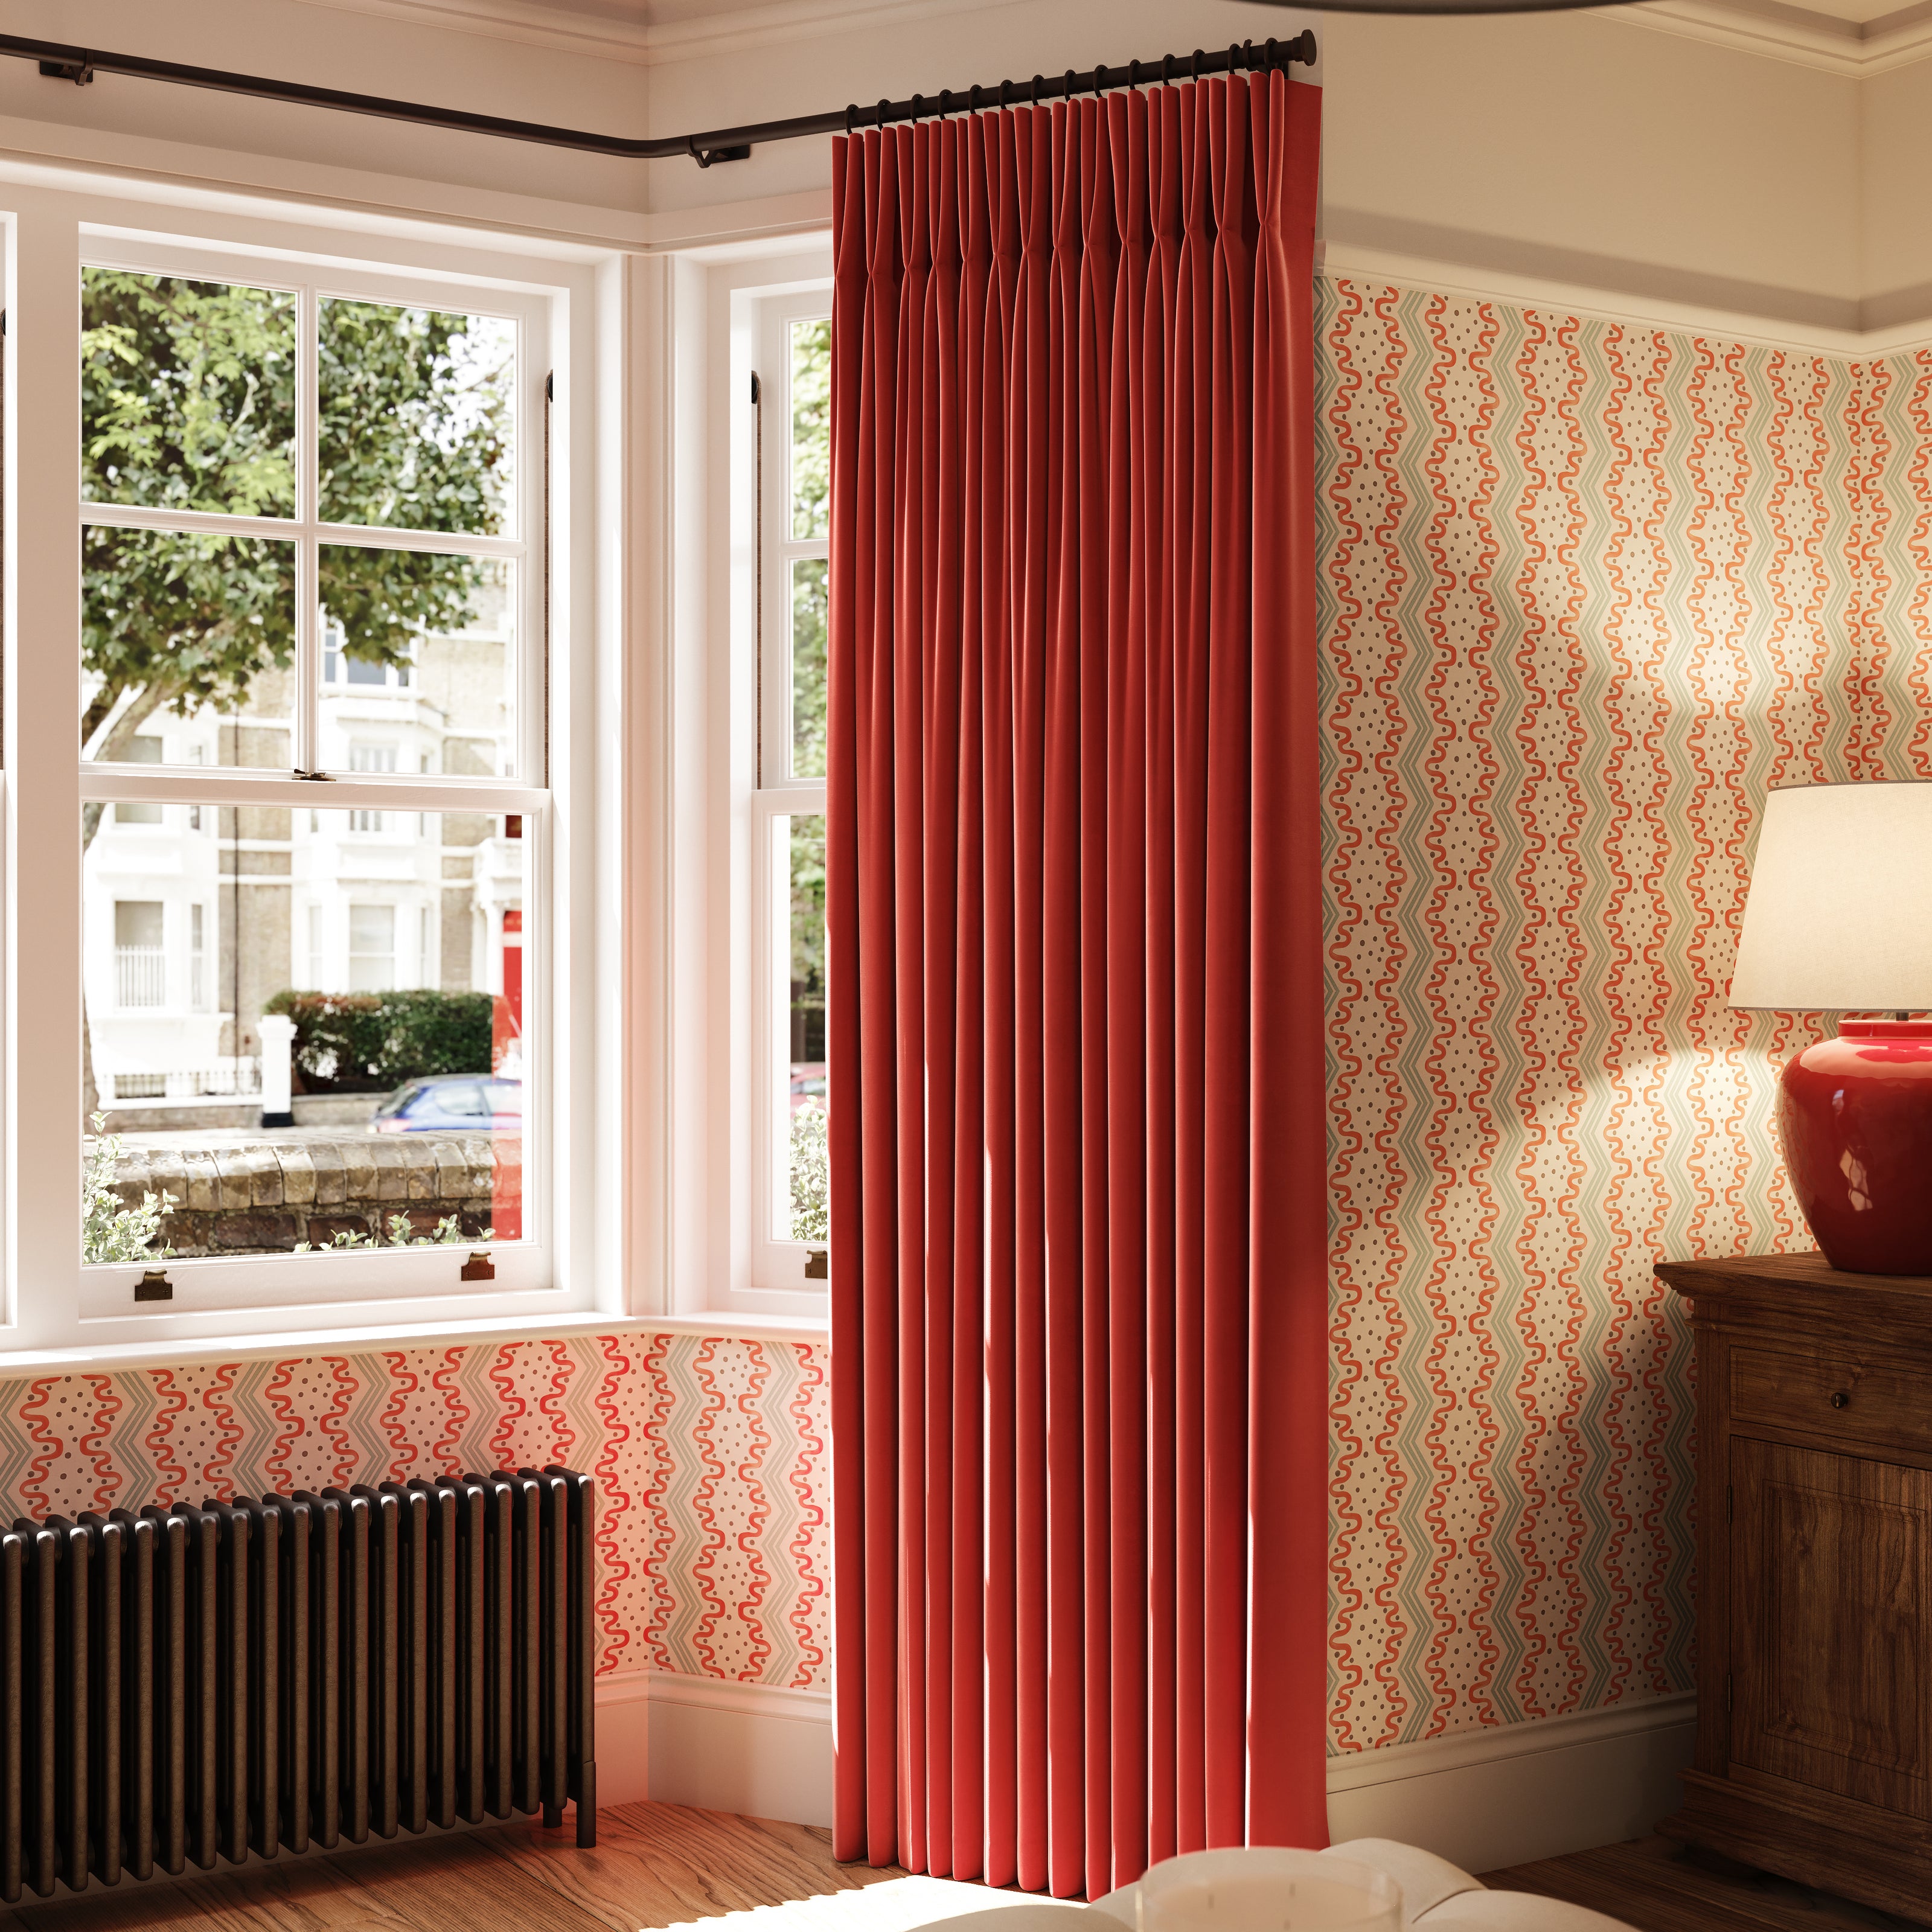
Bay Poles:
Your bay pole will have been angled to the unique shape of your bay, and will be supplied in two halves. Start by joining the two halves together with the joining piece.
You can follow the guidance on the Wall Fixed Metal Pole Installation section above. You will be installing an end bracket at each end, a centre bracket in the middle, and also passing brackets near each bend in the pole. The passing brackets can be fitted using the same process as the centre bracket.
The brackets are adjustable and have 8-10cm projection incase you need to make any tweaks to achieve a perfect fit.
To adjust, loosen the screw, slide to the desired position, and re-tighten.
Other Measuring & Fitting Guides
-
Fitting Blinds
Guide Here -
Measuring Curtains - Bay Windows
Guide Here -
Measuring Curtains
Guide Here -
Measuring Blinds
Guide Here -
Measuring Blinds - Bay Windows
Guide Here